How To: Rig Pacific Sauries
Fishing has a lot of uncertainties but one thing’s for sure – when it’s hot, you gotta go. If marlin are going nuts at the Carpark or Kink, beg the boss for time off. If kings are blocking out the sounder screen at the Twelve, take a sickie and get out there. Which brings me to the mackerel run we are having on the mid-north coast during March 2015. Not only is it the hottest I’ve seen since the mid 1970s but because of the string currents this year they are riding further south than usual.
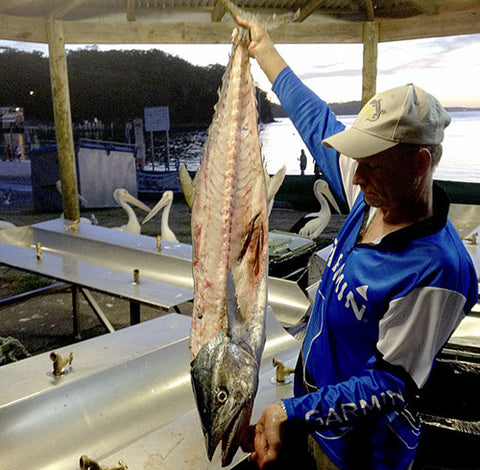
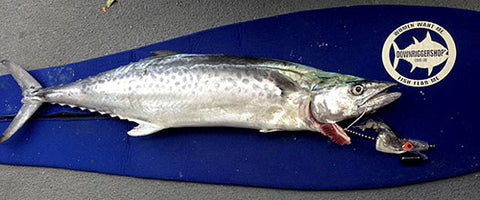
Five Spaniards were caught at Seal Rocks in the second week of March 2015, and that don’t happen often:
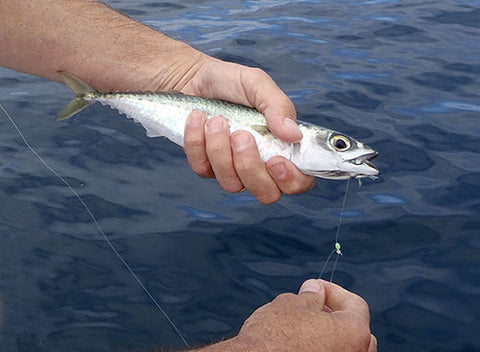
One downside we found this season at Scotts Head is that because of the huge number of predators abounding our preferred livebait – slimy mackerel – were hard to get, too:
Backup bait of live pike worked pretty well:
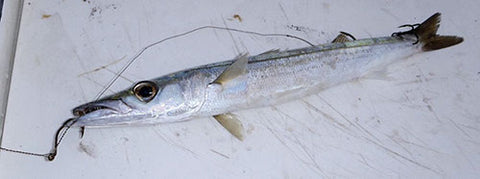
but they can take considerable time to catch. Head Starts have been deadly but the bait they’re designed for, garfish, is not always easy to get:
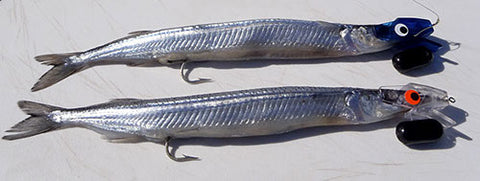
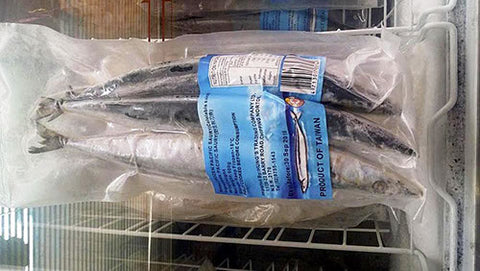
And often if garfish are available, the frozen stuff is low quality – washed out, and often with damaged gills, which doesn’t look good and are hard to rig. Which is why some smart operators have been switching to Pacific Sauries over garfish, for mackerel trolling. Since these are primarily sold for food they are usually in way better condition than service station garfish. Sauries are sold in IQF vacuum packaging:
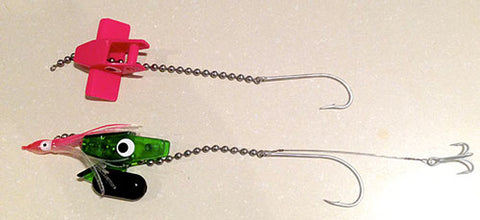
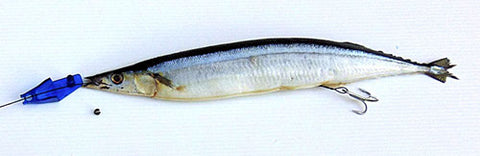
The dark back and shiny silver belly looks great in the water. Mackerel and other speed hunters love them. The downside is that they are substantially bigger than garfish. So the bead chain that works so well with the Head Starts on garfish is too short to properly fit the bigger bait:
So once again our enterprising clients have come up with an answer which I have in turn modified. Firstly, here’s Alan Goggins’ technique:
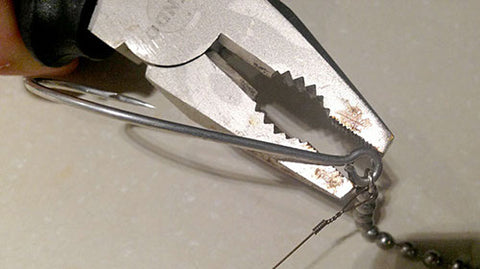
I should mention I also upgraded the main hook to a Gamakatsu sl12s 8/0. Theyre a bit expensive but theyre wicked sharp and much thinner diameter. You'll struggle to balance the hook point on your finger tip with the Gamakatsu when it's rigged to the HeadStart. There an fantastic hook used for fly fishing for gamefish. I use them all the time for jewie fishing as well.
Ill attach a pic or two to show you how I rig them. Please don't get me wrong, I'm not knocking your product. The headstarts are awesome. It's just the way I rig them that's all. As for changing out the hook I just use a side cutter to pinch it open and pliers to close.
Good stuff. It’s a modified version of this technique that we’ll use to rig the sauries. The idea is to make up as much of the rig as possible at home and do the minimum needed for completion out on the water. Here’s what you’ll need:

Spool of multi strand wire. I’m using Twistweld 40-pound, for this exercise. Note that this stuff is often excessively springy, which can be a pain. On the plus side, it’s very flexible, so it doesn’t restrict the bait’s movement;
As regards hook selection. Mackerel slash at the bait to disable it. Which usually mean 2 or 3 hooks per bait are best so that, as Phil AKA Mister Mackerel says, ‘wherever they bite they must find metal.’ In this case I'm fishing six kilo line on light-medium drag, and freespool if a strike is missed. If they chop and miss the hook, they'll often return for another bite. Quality small treble hooks set back work well, with this technique. I’m using Size 1 VMC trebles, 6X strong;
Side cutters;
Bait needle made from the longest part of a coathanger;
And lastly a small swivel or ring, if you want to tie your braid directly to the top of the leader. Here’s how to proceed.
Cut 1.5m of wire, off the spool;
Attach the treble to one end of your wire leader using a Haywire Twist or by crimping, as appropriate;
At the other end of your leader, make a small tight loop. This has to be small enough to pass through the bead chain hole on your Head Start;
Take a thawed sauri and pass the bait needle (loop end first, not spike end) down its throat, then through the stomach, then out through the vent;
Attach the loop on your leader (at the other end to the treble) to the loop on your bait needle. Draw the wire trace through the body of the sauri and out through the mouth to the point where the treble hook sits just outside the vent. Like the treble on a minnow lure;
Your Head Start has two parts. One larger piece, which incorporates the weight, and the smaller piece which includes the cross pin. Run the loop end of your wire trace through the hole at the front of the smaller part of your Head Start;
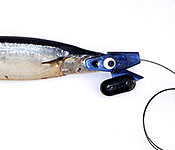
Align the Head Start with the head of the sauri. We are now going to lock the leader into position so that it swings freely behind the Head Start. This is the key to getting a good swimming motion with your bait. Take a small split shot, about the size of a bead on the bead chain that comes with your Head Start. Crimp it onto the wire trace using pliers, on the bait side of the small Head Start piece. Push the little projecting post on the small Head Start piece through the eye socket of your sauri. Slide the larger piece of the Head Start down the wire end from your leader, and click it into place in the usual way. Here’s how it will look:
Give it a try yourself? Head Starts available here:
Good luck and if not too much to ask let me know how you go, Andy